


In daily use of batteries, whether it's a home energy storage battery, an RV/marine battery, or a backup battery for small devices, many people encounter the problem of batteries failing to activate: no obvious external damage, but connecting the charger doesn't activate it, and the battery cannot be charged normally.
Many people mistakenly believe the battery is scrapped and directly spend money to replace it with a new one, unnecessarily wasting costs. In fact, battery activation failure is not always due to the battery itself being damaged; most are common, troubleshootable issues, especially for novices who can easily miss simple solutions due to a lack of understanding of battery activation details and precautions.
Below, we combine core reasons and solutions to help you understand how to wake up a lithium battery.

Part1: 6 Core Reasons for Battery Activation Failure?
We've compiled 6 high-frequency reasons, precisely corresponding to subsequent solutions. Novices can directly refer to this for troubleshooting, quickly pinpointing the root cause and avoiding blind operations that could damage equipment:
1. Poor Contact or Incorrect Wiring Between Battery and Charger Terminals

This is the most common basic problem, often overlooked by both novices and long-term battery users. Battery and charger connection terminals, exposed to air for extended periods, can accumulate dust. Additionally, the metal parts of the terminals can oxidize, forming black or green oxide layers, all of which lead to poor contact. Furthermore, loose terminals during wiring, or carelessly reversing the positive and negative poles, can prevent current from transmitting normally, leading to battery activation failure. It's similar to a phone data cable not being fully plugged into the phone. Seemingly simple, yet often the culprit of activation failure.
2. Charger Activation Method Not Triggered
Some lithium battery chargers have activation restrictions: if the AC mains power is not unplugged, it can only be activated once. After successful activation, the charger will default the current battery to an activated state. If a new battery is replaced at this point and the process is not re-triggered, the charger will not recognize the new battery, leading to activation failure.
3. Charger Battery Type or Voltage Platform Mismatch

The charger type and voltage must perfectly match the battery. Using an incompatible charger will prevent the battery from activating.
4. External Load Connected or Too Many Batteries in Parallel, Diverting Activation Energy
Connecting other DC loads such as inverters or small lights during activation, or using multiple batteries in parallel, will cause the activation energy output by the charger to be diverted and distributed. Insufficient energy will then prevent the battery from activating.
5. Charger Anomaly
A charger anomaly is one of the direct causes of battery activation failure and is also an easily troubleshootable problem. This manifests in three situations: internal damage to the charger, circuit failure or abnormal indicator lights (e.g., continuous red light flashing, indicator light not on), or no output, directly leading to activation failure.
6. Battery Anomaly
If activation still fails after ruling out the above reasons, it is highly likely due to abnormal battery cells or BMS failure, requiring professional inspection and confirmation.
Part2: How to wake up a lithium battery? Corresponding Solutions
To improve troubleshooting efficiency and avoid unnecessary operations, it is recommended to troubleshoot in order from simple to complex, making it easy for novices to get started:
1. Check if Wiring is Correct and Secure
First, disconnect all connections between the charger and the battery. The first step is to confirm that the wiring is correct, repeatedly checking the positive and negative markings on the battery and charger ("+" to "+", "-" to "-") to ensure they are not reversed. The second step is to check if there are any oxidized stains, dust, or debris on the battery terminals and charger terminals. For slight dust, wipe with a dry soft cloth; if significantly oxidized, gently polish with fine sandpaper to expose the metallic luster, preventing the oxide layer from affecting contact. The third step is to re-tighten the charger terminals to the battery terminals, ensuring a secure connection without looseness. After confirming all operations are correct, reconnect the charger to the mains power and attempt to activate the battery.
2. Re-power the Charger to Activate
First, disconnect the AC mains power, connect the DC end, and then connect the AC mains power; if the charger is already connected, disconnect the AC power, wait a few seconds, and then restart to re-trigger the activation process.
3. Select the Correct Battery Voltage and Type
Clearly identify the battery type and rated voltage, and select a matching charger.
4. Remove Load or Activate Single Battery Individually
Remove inverters or other DC loads during activation; if too many batteries are in parallel, activate one individually first, and then restore parallel use after successful activation.
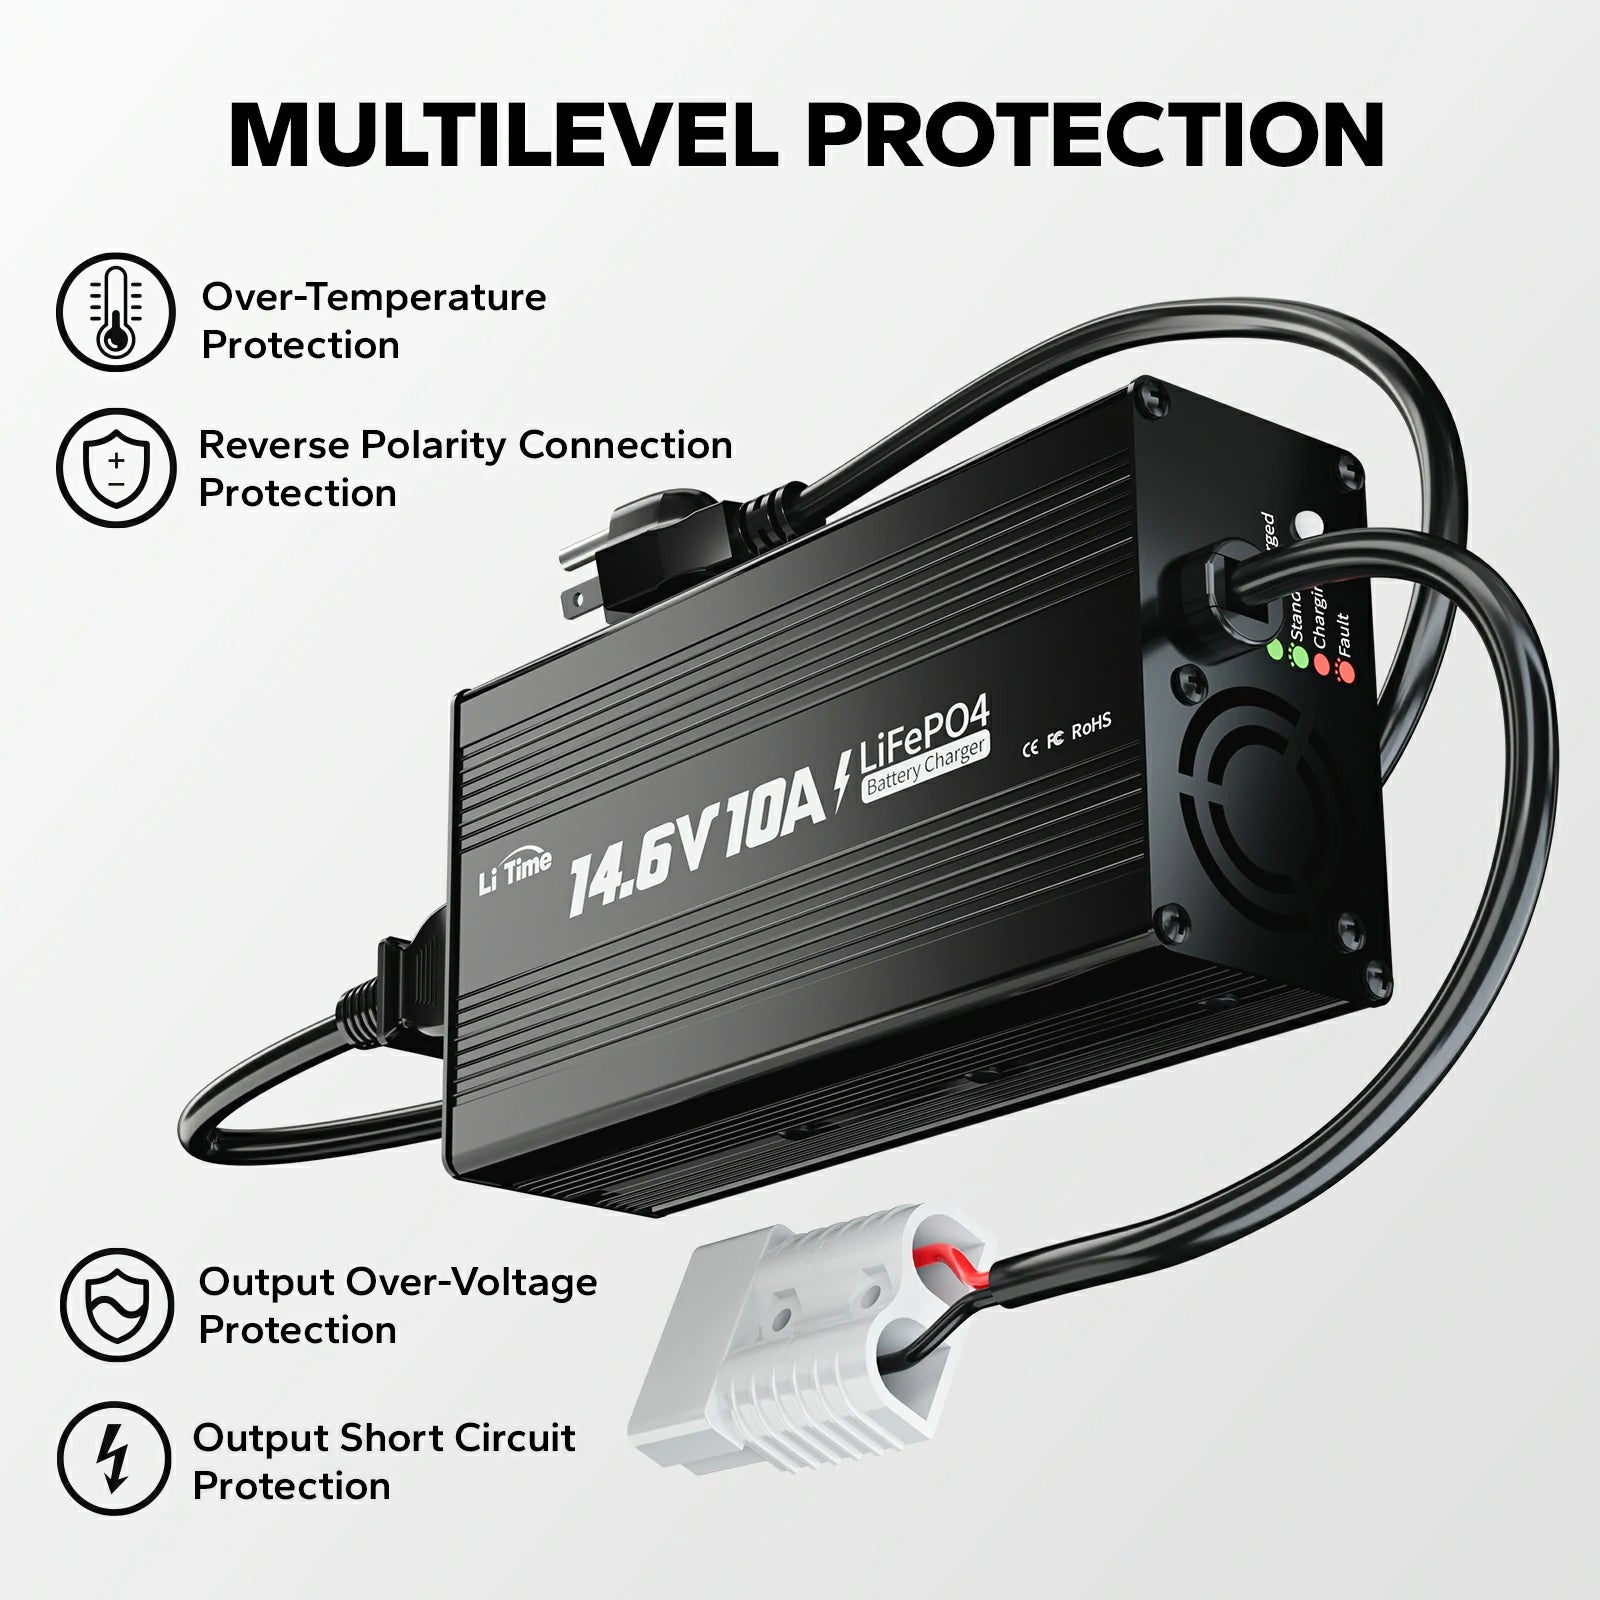
5. Replace with New Charging Equipment
After confirming a charger anomaly, replace it with a new charger that matches the battery, and then attempt activation again, avoiding activation with a faulty charger.
6. Contact After-Sales Service for Troubleshooting
If all solutions have been tried and are still ineffective, do not disassemble it yourself. Contact LiTime customer service for professional inspection and repair.
Part3: Key Considerations
- Prioritize using original chargers and avoid inferior or incompatible equipment, which can lead to abnormal charging, shorten battery life, and even pose safety risks.
- For batteries left idle for a long time, recharge every 3 months to prevent over-discharge; if swelling, leakage, or other damage occurs, contact LiTime customer service.
- When re-powering to activate, strictly follow the "connect DC first → then AC" operation to improve activation success rate.
Part4: FAQs About Lithium Battery Activation Related Common Issues
1. When activating a LiFePO4 battery, how long without a response is considered activation failure?
With no load connected, a matching charger, and correct operation, a response within 3-10 seconds (indicator light changes color, slight heating) is normal; no response after 30 seconds can be judged as activation failure. Prioritize troubleshooting wiring and charger compatibility, no need to immediately deem the battery scrapped.
2. Can LiTime chargers' lithium activation function wake up all dormant LiFePO4 batteries?
Only applicable to LiFePO4 batteries with BMS dormancy due to over-discharge (voltage below 10V) and Bluetooth batteries in power-off state.
3. What preparations are needed before activating a long-idle (over 3 months) LiFePO4 battery?
First, check the battery appearance (no swelling, leakage, etc.), wipe the terminals to remove dust and oxide layers; then connect the charger following "connect DC first → then AC" to activate. After activation, recharge to about 80%-100% before use.
4. After successful activation, why does the battery still not supply power normally?
There are three main reasons: ① Not fully charged after activation; ② External load failure; ③ Parallel batteries were not activated individually; activate each battery individually and then use them in parallel.
Conclusion
In summary, battery activation failure is not always due to a scrapped battery. Most battery activation failures are common, solvable problems such as poor contact, incorrect activation procedures, or incompatible equipment. It is recommended to troubleshoot in the order of "check matching equipment first, then wiring, then trigger activation."
This can quickly solve activation problems, save the cost of replacing batteries, and extend the lifespan of batteries and chargers. If you encounter special circumstances and all methods fail to activate, remember to contact LiTime customer service promptly. Professional inspection and repair can avoid unnecessary losses and ensure safe use.


